
How to Reduce Image Size Without Losing Quality (2026 Guide)
The fear is always the same: shrink a file enough to clear an upload limit, and it comes out looking blurry, blocky, or washed out. Reduce image size without losing quality is possible, but it doesn’t come from one setting — it comes from using three separate controls together instead of leaning on just one.
The three real levers
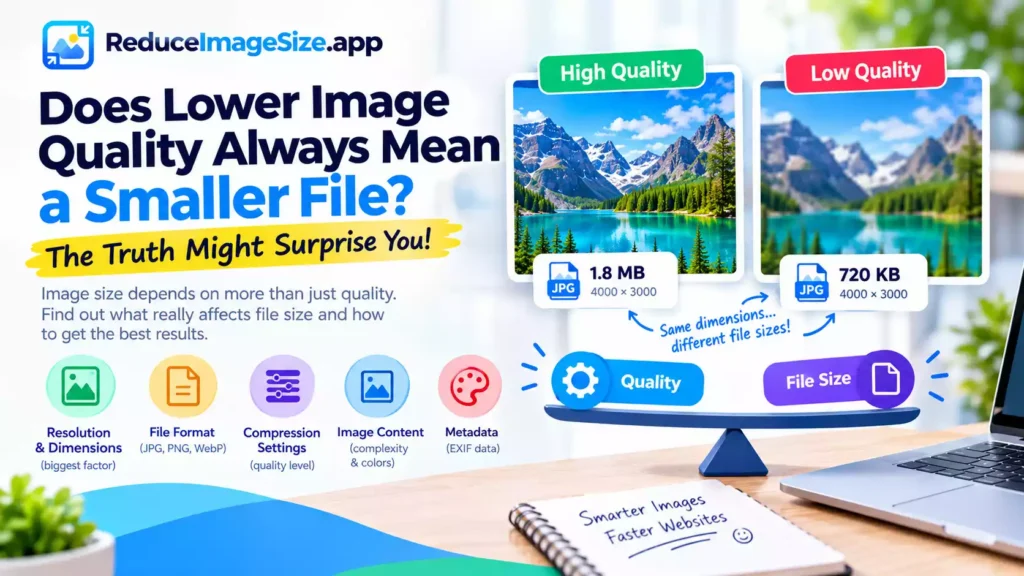
- The quality slider. This is a lossy compression setting, usually somewhere between 20% and 100%. It’s not a straight line — dropping from 100% to 90% barely changes the file size but also barely touches visible quality, while dropping from 60% to 40% saves a lot of space but starts showing real degradation. The useful range for most photos sits around 70–85%: enough compression to matter, rarely enough to notice.
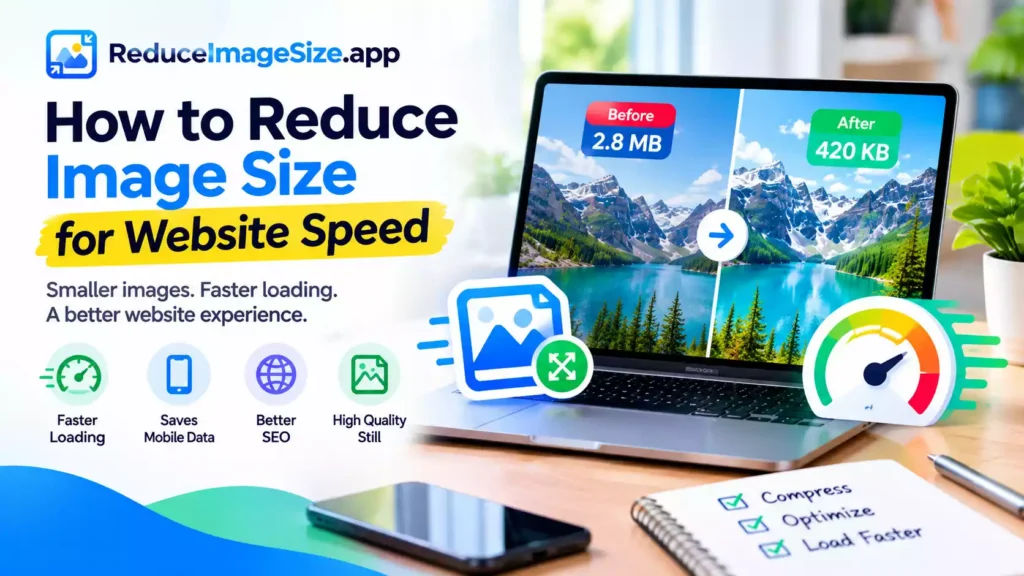
- Dimensions. A photo with more pixels than it needs to display at is carrying dead weight. A 4000×3000 image being shown at 800×600 on a website is storing detail nobody will ever see. Resizing the dimensions down before compressing — rather than compressing a huge image and hoping — usually gets you a smaller file with less visible quality loss than compression alone.
- Format. Not all formats compress the same way. WebP and AVIF are generally more efficient than JPG at the same visual quality, meaning you can often use a higher quality setting in a smaller-by-nature format and end up with both a smaller file and a cleaner result than a lower-quality JPG.
Putting it together: resize first, then compress, then pick your output format. Doing all three moderately beats doing one aggressively.
Reduce Image Size But Keep Quality — Why People Ask This Two Different Ways
Reduce image size but keep quality, reduce image size keep quality, reduce image size but not quality, and reduce image size without reducing quality are really the same request phrased four different ways — and reduce image size same quality and reduce image size high quality describe the same goal from a slightly different angle. All of them come down to the three levers above; there’s no separate “keep quality” mode hiding somewhere else in the tool.
There’s an honest limit worth naming here too: reduce image size no quality loss isn’t literally achievable if you’re pushing a file down to a small fraction of its original size. Some information is genuinely being discarded. What you can get close to is no visible quality loss, which is a real and achievable goal, just a different one than a truly lossless reduction.
Doing This in KB Specifically
Reduce image size in kb without losing quality follows the exact same three-lever approach, just applied toward a specific number instead of a general “smaller” goal. If you’re aiming for 100KB or 50KB, resize the dimensions first — a photo that’s already close to its target display size will hit that KB number with a much higher quality setting than one that starts oversized. For every KB target and its “below/less than/upto” variants, see the Reduce Image Size in KB hub.
A Quick Checklist by Use Case
- Web images / blog posts: resize to your actual display width first, quality around 75–85%, WebP if your platform supports it
- Social media uploads: most platforms recompress on their end anyway, so there’s little benefit to keeping quality above 85% before uploading
- Forms and portals with a strict KB limit: prioritize hitting the number — resize first so the quality slider doesn’t have to do all the work
- Print or professional portfolios: keep quality high (90%+) and let dimensions do more of the size reduction, since print is far less forgiving of compression artifacts than a screen
Free and Online
Reduce image size without losing quality free, reduce image size without losing quality online, and reduce image size online free without losing quality all describe using this same process through ReduceImageSize.app — no signup, no cost, and the quality/resize/format controls are all available directly on the homepage tool.
Frequently Asked Questions
Is there really no quality loss when I compress an image?
At very small target sizes, some loss is unavoidable — the goal is making it not visible, not eliminating it entirely.
Which matters more: quality slider or resizing dimensions?
For most oversized photos, resizing first has the bigger impact. Use the quality slider to fine-tune from there.
Does the output format actually make a difference?
Yes — WebP and AVIF typically produce smaller files than JPG or PNG at the same visual quality.
Related tools: Compress Image · Compress Image – Free, No Signup, No Watermark · Convert Image – Free JPG, PNG & WebP Converter

One Comment