What Is the Best Image Quality for a Smaller File Size?
There’s no single “best” quality percentage — the right answer depends on what the image is for. But understanding what the quality setting actually does makes it easier to pick a number with confidence instead of guessing.
What the Quality Slider Actually Controls
Quality settings on a compression tool typically range from around 20% to 100%. This isn’t a measure of resolution or sharpness directly, it’s a measure of how much visual information the compression algorithm is allowed to discard. At 100%, the algorithm discards almost nothing, and the file stays close to its original size. As the number drops, the algorithm starts simplifying fine detail, smoothing out subtle color transitions, and, at lower settings, introducing visible blocky patterns, especially around sharp edges or text.
Why It’s Not a Straight Line
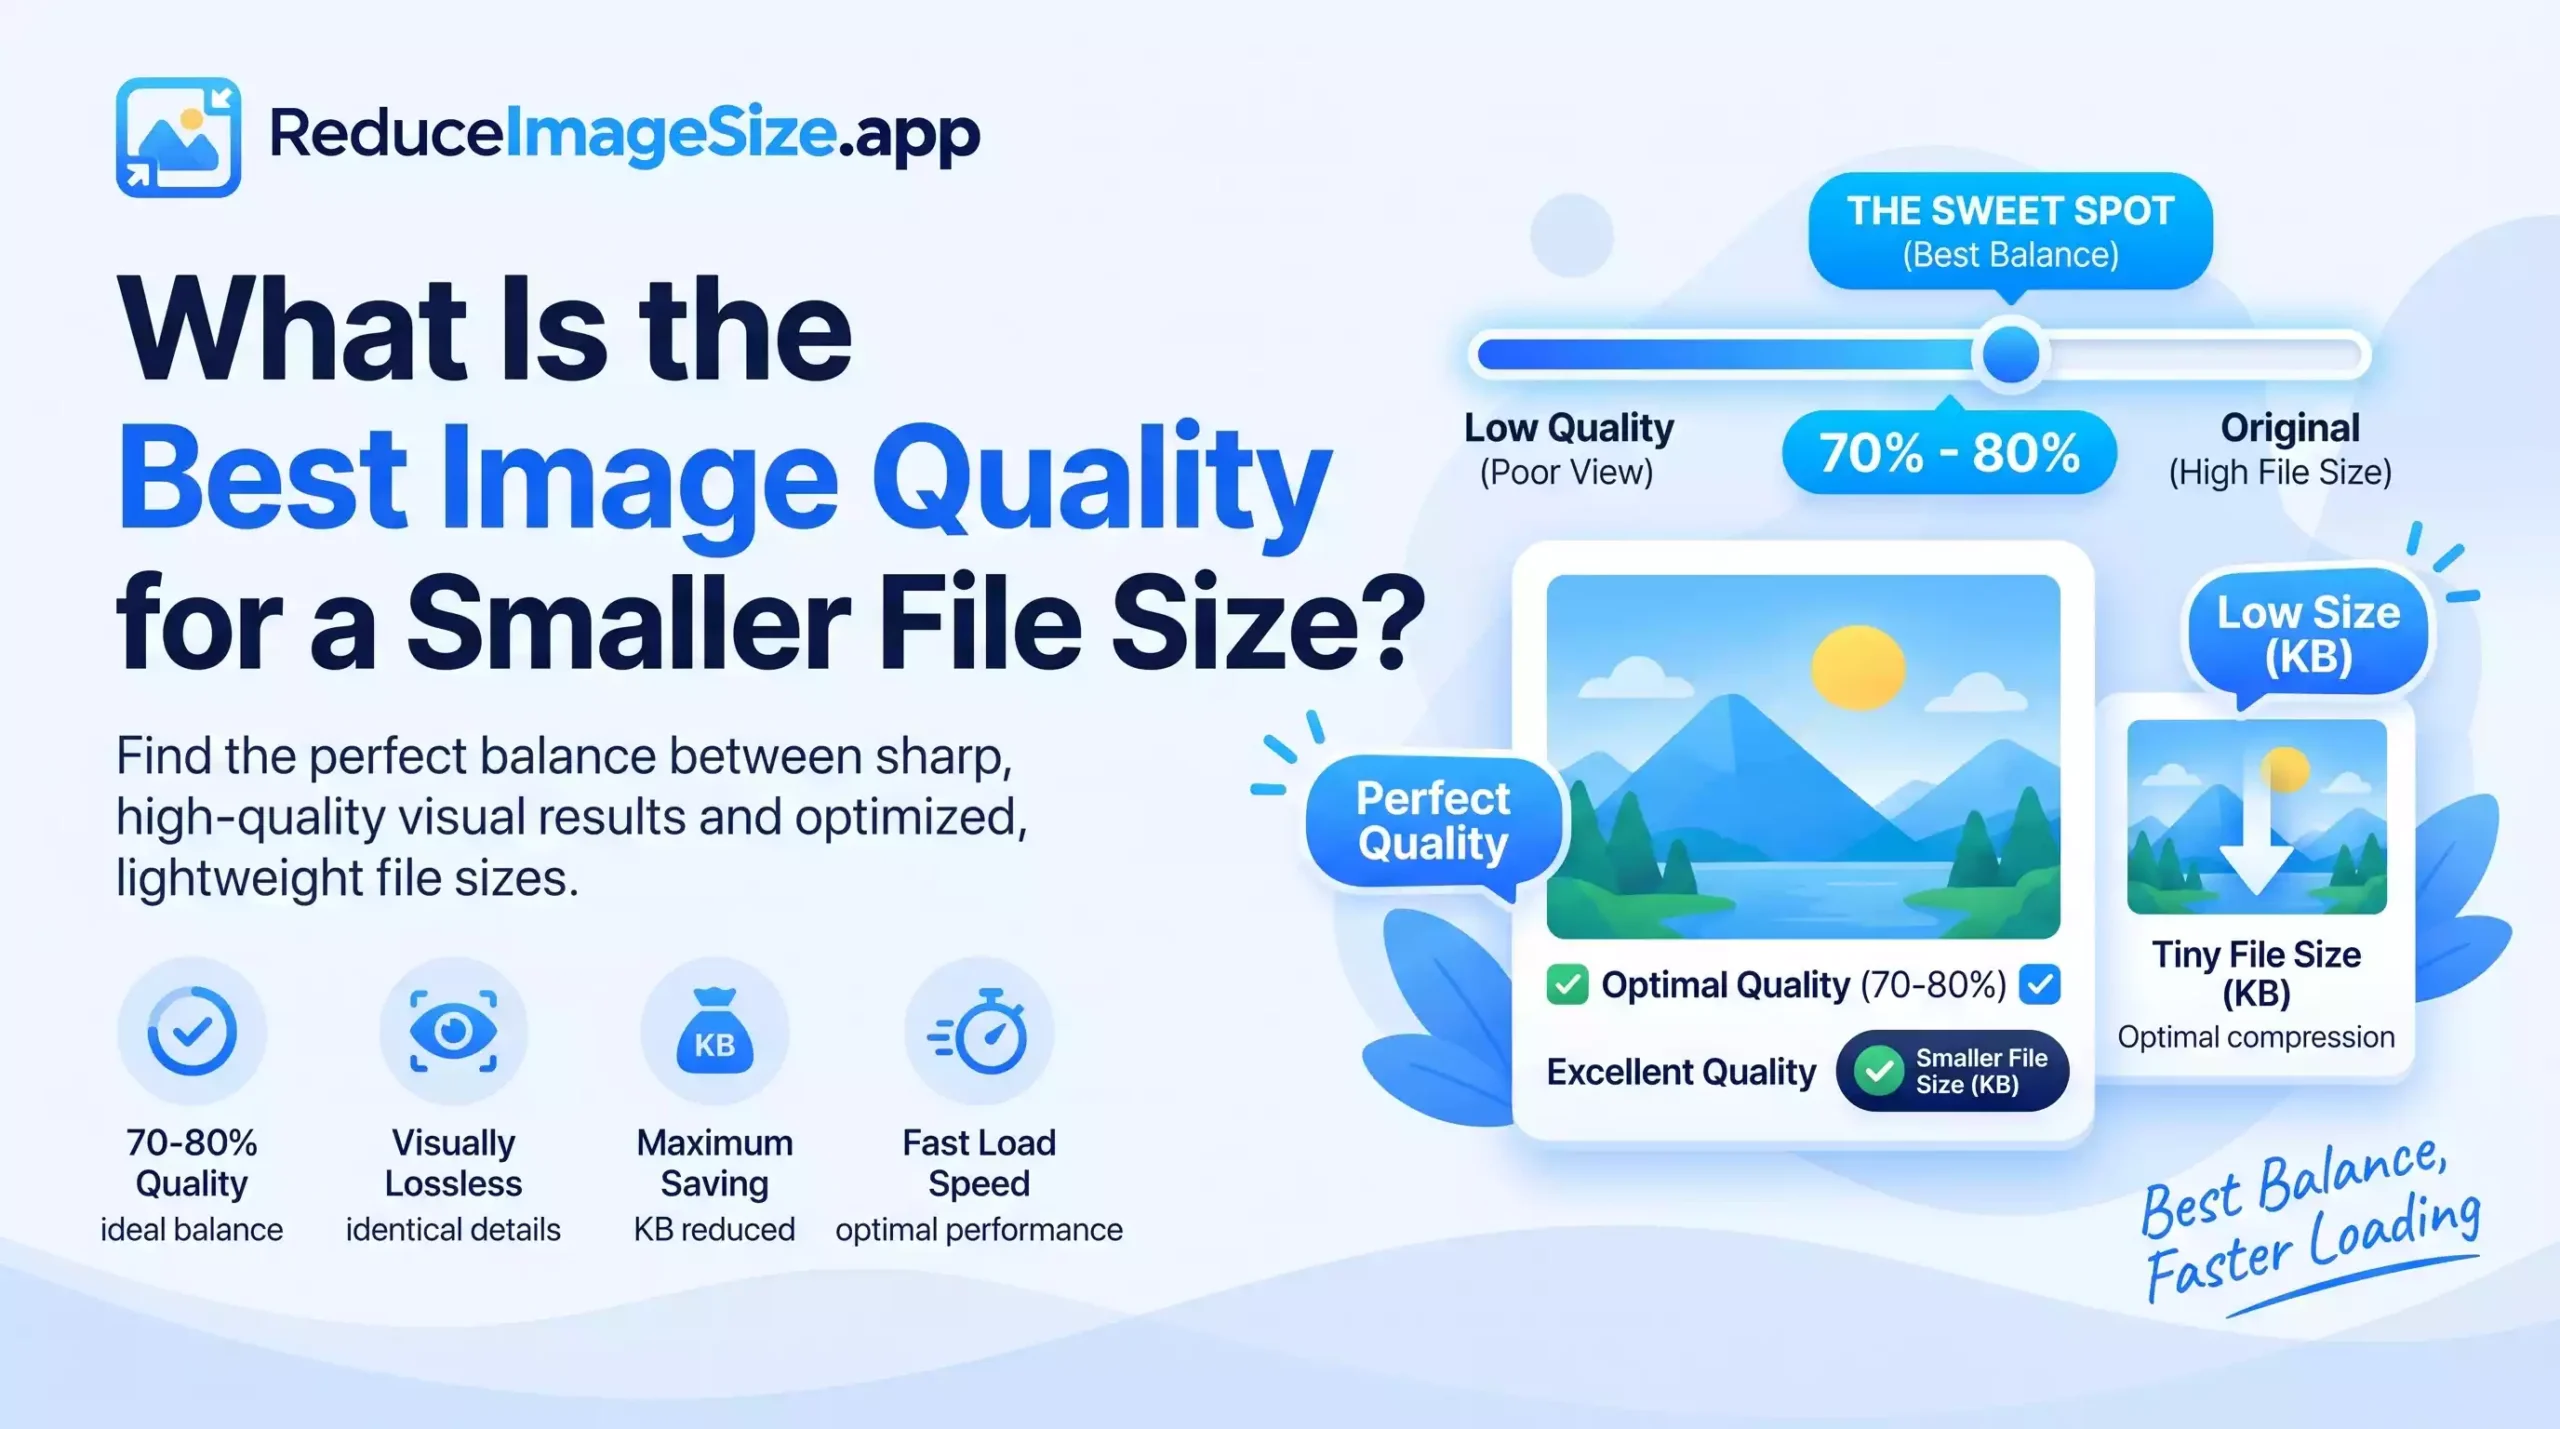
The relationship between quality and file size isn’t linear, and this is the part that trips people up. Going from 100% to 90% often barely changes the file size at all, because there’s very little redundant information to remove near the top of the range. Going from 60% to 40%, on the other hand, can cut the file size substantially, but this is also where compression artifacts start becoming genuinely visible. The useful range for most real photos sits around 70–85%: past this point, you’re paying a large size cost for a small quality gain; before it, you start losing quality faster than you’re saving space.
Format Changes the Equation
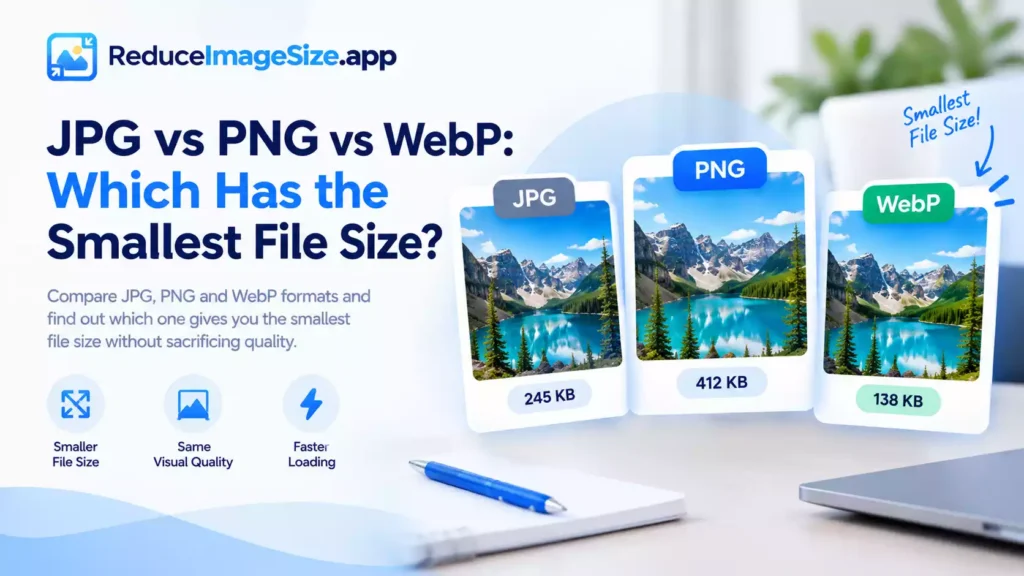
The same quality percentage means something different depending on the format. WebP and AVIF use more efficient compression algorithms than older JPG encoding, so a WebP file at 80% quality is often noticeably smaller than a JPG at the same 80% setting, with comparable visual results. If file size matters more than compatibility with older systems, choosing a modern format can matter as much as the quality slider itself.
PNG works differently: it’s typically used for graphics and images that need transparency, and its “quality” isn’t a sliding scale like JPG’s; PNG file size depends more on image complexity and color count than on a single adjustable setting.
Recommended Quality by Use Case
- Web images: 75–85% — a good balance of visible quality and load speed
- Social media: 80–90% is usually plenty, since most platforms recompress images again on their end anyway
- Forms with a strict KB limit: whatever quality setting actually gets you under the number, after resizing dimensions first — hitting the limit matters more than the specific percentage
- Print or professional portfolios: 90–100%, since print shows compression artifacts far more clearly than a screen does, and file size is rarely the constraint there
Frequently Asked Questions
What quality setting should I use for a website?
Around 75–85% is a reliable starting point for most photos.
Does a higher quality setting always mean better-looking images?
Only up to a point — past roughly 90–95%, the visible difference becomes very hard to notice while the file size keeps climbing.
Why does the same quality percentage look different in JPG versus WebP?
The formats use different compression methods — WebP and AVIF are generally more efficient, so they preserve more visible detail at the same numeric setting.
Related tools: Main Tool · Compress Image · How to Reduce Image Size Without Losing Quality